If you’ve recently purchased or are considering buying an Apple Watch SE 2nd Generation, you’re probably wondering how to use Apple watch SE 2nd generation. This article offers a step-by-step guide to setting up and effectively utilizing your device, whether you’re a tech-savvy individual or a complete beginner.
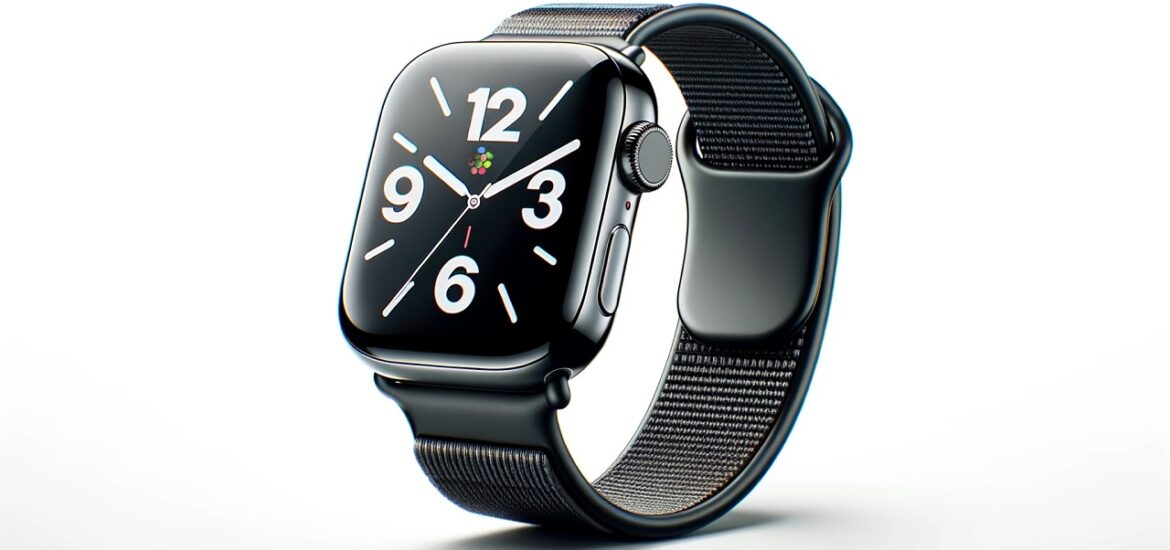
Table of Contents
Before You Start: How to Use Apple Watch SE 2nd Generation
Before getting started with using Apple Watch SE 2nd Generation, there are a few essential items you should have on hand. The initial setup requires a compatible iPhone, as the Apple Watch is designed to work in tandem with it. Here’s what you’ll need:
- An Apple Watch SE 2nd Generation
- A compatible iPhone
- An active Apple ID
- A reliable Wi-Fi connection
These items are crucial for the setup process, ensuring that all features and functions will operate seamlessly.
Step 1: Pairing Your Apple Watch with Your iPhone
Pairing your Apple Watch SE 2nd Generation with your iPhone is essential for optimizing the features and capabilities of your device. This initial step allows seamless communication between the devices, enabling you to get notifications, manage settings, and use applications. Below are the detailed steps to pair your Apple Watch with your iPhone:
- Turn On Your Apple Watch: To turn on your Apple Watch, press and hold the side button, which is located just below the Digital Crown. Keep holding until you see the Apple logo on the screen. Release the button once the logo appears, indicating that your watch is powering up.
- Open the Apple Watch App: While your Apple Watch is turning on, grab your iPhone and open the Apple Watch app. This app is pre-installed on all iPhones and serves as the primary control center for configuring your Apple Watch settings.
- Select ‘Start Pairing’: Upon opening the app, you’ll see an option that says ‘Start Pairing.’ Tap on this to initiate the pairing process.
- Use the Viewfinder: Once you tap ‘Start Pairing,’ a viewfinder rectangle will appear on your iPhone’s screen. Hold your Apple Watch within this viewfinder, making sure to align the watch face with the rectangle. This allows your iPhone to recognize the device and proceed with the pairing.
- Complete the On-Screen Instructions: After the watch face is aligned within the viewfinder, your iPhone will display a series of on-screen prompts. These may include setting up a passcode on your Apple Watch for added security or enabling features like GPS or Wi-Fi. Follow each instruction carefully to complete the pairing process.
Once the pairing is successful, your Apple Watch and iPhone will begin syncing. This might take a few minutes, depending on the amount of data being transferred. After synchronization, your Apple Watch SE 2nd Generation is now ready to deliver a personalized and efficient user experience.
Step 2: Customizing Settings
Now that you’ve paired your Apple Watch SE 2nd Generation with your iPhone, customizing the settings is the next important step. The settings can be accessed both on your watch and through the Apple Watch app on your iPhone.
- On your Apple Watch, tap the ‘Settings’ app, which looks like a gear.
- Here, you can adjust various settings such as brightness, text size, and sounds.
- You can also modify ‘Do Not Disturb’ options, customize your ‘Control Center,’ and set up ‘Emergency SOS’ from here.
- Alternatively, you can open the Apple Watch app on your iPhone and tap ‘My Watch’ to access and customize these settings.
Customizing your settings helps you personalize your experience and makes your Apple Watch more useful in your daily life.
Step 3: Installing Apps
One of the great features of the Apple Watch SE 2nd Generation is its ability to run a wide range of apps. Here’s how you can install apps:
- Open the ‘App Store’ on your Apple Watch.
- Use the ‘Search’ function to find the app you’re looking for.
- Tap ‘Get’ to download free apps or tap the price to purchase paid apps.
- If prompted, double-click the side button to install the app.
Apps extend the functionality of your watch, from tracking your fitness to managing your emails.
For more articles like this one click here – How To Fix Apple Watch Issues: A Comprehensive Guide
Step 4: Managing Notifications
Notifications are one of the most useful features of an Apple Watch, allowing you to get important updates directly on your wrist. To manage notifications:
- Open the ‘Apple Watch’ app on your iPhone.
- Tap ‘My Watch’ and then tap ‘Notifications’.
- Here, you can customize how notifications appear on your watch, which apps can send notifications, and more.
Setting up your notifications properly ensures you never miss an important update while avoiding unnecessary interruptions.
Step 5: Making and Receiving Calls
Your Apple Watch SE 2nd Generation can also act as a mini telephone. To make and receive calls:
- Open the ‘Phone’ app on your Apple Watch.
- Use the ‘Contacts’ list to select whom you wish to call and tap their name.
- To answer an incoming call, simply tap the green answer button when your watch rings.
Using the calling feature, you can quickly make or receive calls without needing to take your iPhone out of your pocket.
Step 6: Using Siri for Commands
Utilizing Siri on your Apple Watch SE 2nd Generation can be a game-changer. This voice-activated assistant can perform a wide array of tasks, from sending messages to setting reminders and answering questions.
- Activate Siri by holding down the Digital Crown or saying “Hey Siri” if you’ve set up the “Raise to Speak” function.
- Speak your question or command clearly into the Apple Watch. For instance, you can say, “What’s the weather like?” or “Set a reminder for my meeting at 3 PM.”
- Siri will process your request and execute the command. You’ll either see a visual confirmation on the watch screen or hear an audible one.
This feature can be particularly useful when your hands are occupied, and you still need to accomplish tasks like calling someone or navigating to a destination.
Step 7: Setting up Apple Pay
Setting up Apple Pay on your Apple Watch SE 2nd Generation is not just a convenience; it’s also a way to make transactions more secure thanks to Apple’s two-factor authentication. With Apple Pay, your actual card number is neither stored on your device nor on Apple servers, providing an extra layer of security. Follow these steps to set it up:
- Open the Apple Watch App: Begin by opening the Apple Watch app on your iPhone. This is the centralized location for all your watch settings and configurations.
- Navigate to the ‘My Watch’ Tab: Once you’ve opened the Apple Watch app, look at the bottom menu and select the ‘My Watch’ tab. This section contains settings specific to your paired Apple Watch.
- Find ‘Wallet & Apple Pay’: In the ‘My Watch’ tab, scroll down until you come across the ‘Wallet & Apple Pay’ option. Tap on it to enter the Apple Pay setup menu.
- Add a Credit or Debit Card: After tapping ‘Wallet & Apple Pay,’ you’ll be prompted to add a new card for transactions. You can either manually enter your card information or scan it using your iPhone’s camera for quicker setup.
- Verify Your Card: Once the card information is captured, you’ll typically be asked to verify the card. Verification methods may include a text message, phone call, or email from your bank. Follow the on-screen prompts to complete this process.
- Confirmation: After successful verification, you’ll see a message saying your card is ready for Apple Pay. This means the setup is complete.
After completing these steps, using Apple Pay is simple. Double-click the side button on your Apple Watch to bring up your cards. Hold the watch close to the payment terminal, and the transaction should process almost instantaneously.
Step 8: Tracking Your Health and Fitness
Your Apple Watch SE 2nd Generation is not just a smartwatch but also a comprehensive health and fitness tracker. With a multitude of features designed to monitor and improve your well-being, it can be a valuable asset on your health journey. Here’s how to use the watch for tracking your activities:
- Launch the ‘Fitness’ App: Begin by opening the ‘Fitness’ app on your Apple Watch. You can find it by pressing the Digital Crown and scrolling through the app grid or by using Siri.
- Select Your Workout: Once inside the app, you’ll be presented with an array of workout types—ranging from running and cycling to yoga and swimming. Select the one that matches your planned activity. Each workout type is optimized to track specific metrics, so choosing correctly is crucial for accurate data collection.
- Configure Settings If Needed: Before starting, some workouts offer additional settings like target pace or distance. If applicable, set these to tailor the workout tracking to your specific goals.
- Start the Tracking: After selecting and configuring your workout, press the ‘Start’ button. Your Apple Watch will now actively monitor various metrics. These can include distance covered, pace, elapsed time, calories burned, and heart rate, among others, depending on the workout type you’ve chosen.
- During the Workout: While you’re exercising, you can swipe left on the workout screen to lock the watch or end the workout. Swiping right will give you control over music or podcasts that are playing.
- Ending the Workout: Once you’ve completed your activity, swipe left and tap the ‘End’ button. Your Apple Watch will display a summary of the workout metrics, which you can then save or discard.
After completing a workout, all the data collected will be available in the ‘Fitness’ app on your iPhone. This allows you to perform a more in-depth analysis of your activity, helping you better understand your performance and set future goals.
Step 9: Updating Your Apple Watch
Keeping your Apple Watch SE 2nd Generation up-to-date is essential for ensuring you’re taking advantage of the latest features, improvements, and security patches. Software updates can provide enhanced functionality, fix bugs, and offer new and improved user experiences. Below is a step-by-step guide on how to update your device.
- Place Your Apple Watch on Its Charger: Before you start the update process, make sure your Apple Watch is placed on its charger and has at least 50% battery life. This is crucial because the update process can be time-consuming and you don’t want your watch to run out of battery midway. Also, ensure that the watch is in close proximity to your iPhone, as the update will be performed via the Apple Watch app on your phone.
- Open the Apple Watch App: On your iPhone, locate and open the Apple Watch app. This app is where all settings and configurations related to your watch are controlled.
- Navigate to ‘My Watch’ Tab: In the Apple Watch app, you’ll see several tabs at the bottom of the screen. Tap on ‘My Watch’ to proceed.
- Select ‘General’: Once you’re in the ‘My Watch’ tab, scroll down until you see the ‘General’ option and tap on it.
- Tap ‘Software Update’: Within the ‘General’ section, you’ll find the ‘Software Update’ option. Tap on it to check if any updates are available for your Apple Watch SE 2nd Generation.
- Install the Update: If an update is available, you’ll see details about what the update includes. To start the update, tap ‘Install’. You may be asked to enter your iPhone or Apple Watch passcode.
- Follow On-screen Instructions: The update process will begin and you’ll see a progress circle on your Apple Watch. Keep the watch on the charger and near your iPhone until the update is complete.
By keeping your device updated, you ensure that you’re making the most of your investment, while also maintaining the security and functionality of your Apple Watch SE 2nd Generation.
Conclusion: How to Use Apple Watch SE 2nd Generation
You should now have a comprehensive understanding of how to use Apple Watch SE 2nd Generation. With this knowledge in hand, you’re well-equipped to explore and make the most of each feature tailored to enhance your daily activities and overall well-being.
