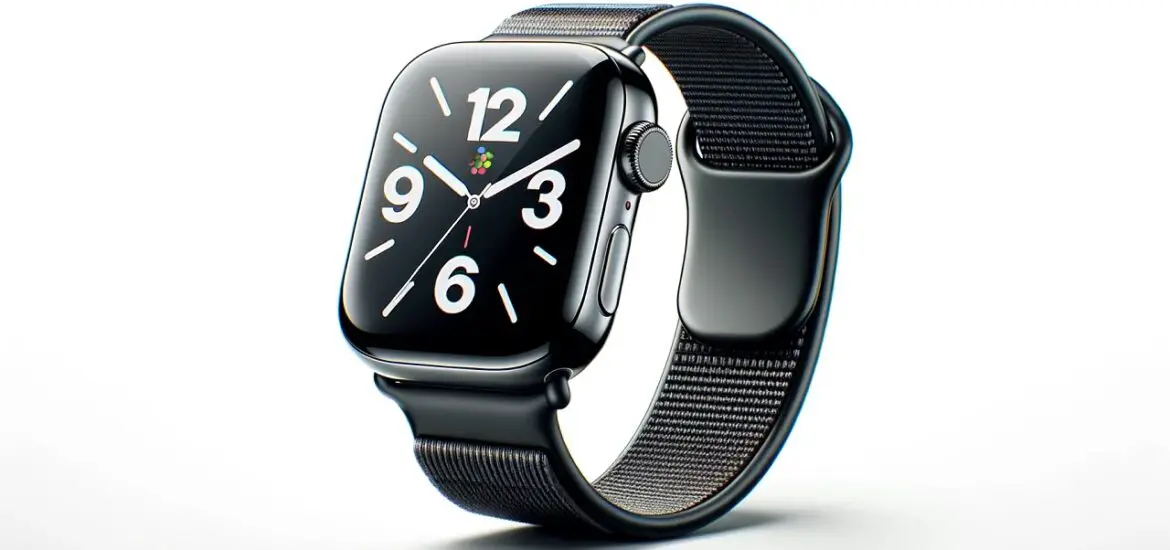
If you’re wondering how to update Apple Watch Series 2, you’ve come to the right place. Software updates can offer significant benefits, from security patches to new features. In this comprehensive guide, we’ll cover every step in great detail to help you seamlessly update your Apple Watch Series 2.

Table of Contents
Requirements: How to Update Apple Watch Series 2
Before diving into the update process, it’s crucial to ensure you have everything you need. The requirements for updating an Apple Watch Series 2 are pretty straightforward but essential for a successful update. You’ll need the following:
- An Apple Watch Series 2
- An iPhone with the latest version of iOS installed
- A reliable Wi-Fi connection
- Your Apple Watch charger
Ensuring you have these requirements in place is the first step toward a hassle-free update process. If your iPhone isn’t updated, you won’t be able to proceed with the Apple Watch update. Likewise, insufficient battery or the absence of Wi-Fi can prevent a successful update.
Step 1: Prepare Your iPhone
The very first step in to updating Apple Watch Series 2 is preparing your iPhone. It needs to be running the latest version of iOS to proceed. To check for updates, go to the Settings app on your iPhone. Scroll down and tap on General, then tap on Software Update. If you see that an update is available, install it and restart your iPhone.
Step 2: Charge Your Apple Watch
Charging your Apple Watch is essential before starting the update. The device needs at least 50% battery life to initiate the update process. Place the Apple Watch on its charger and wait until the battery indicator shows 50% or more. It’s a good idea to keep the Apple Watch on its charger throughout the entire update process to prevent any interruptions.
Step 3: Connect to Wi-Fi
A stable Wi-Fi connection is mandatory for downloading the update. To connect your iPhone to Wi-Fi, open the Settings app and tap on the Wi-Fi option. Ensure you’re connected to a reliable network, as losing connection during the update can cause issues that may require additional troubleshooting.
Step 4: Open the Apple Watch App on Your iPhone
Now that your iPhone is updated and connected to Wi-Fi, it’s time to start the actual process of how to update Apple Watch Series 2. Find and open the Apple Watch app on your iPhone. This is the central hub for all Apple Watch settings and it’s where you’ll initiate the update.
For more articles like this one click here – How To Fix Apple Watch Issues: A Comprehensive Guide
Step 5: Start the Update
In the Apple Watch app on your iPhone, you’ll see a tab at the bottom labeled ‘My Watch’. Tap on this, and then tap on the General option. Within the General settings, look for the Software Update section and tap on it. If a new update is available, you’ll see a ‘Download and Install’ option. Tap it to begin the update.
Step 6: Enter Your Passcode
During the update process, you’ll be prompted to enter your iPhone or Apple Watch passcode. Input your passcode to authorize the update. This step is a security measure to ensure that the update is intentional.
Step 7: Review and Accept Terms and Conditions
Before the update starts, you’ll be shown the terms and conditions. Make sure you read through these carefully. Once you agree with them, tap on the ‘Agree’ button at the bottom. Your Apple Watch will now start updating.
Step 8: Wait for the Update to Finish
At this point, all you can do is wait. Depending on your Wi-Fi speed and the size of the update, this could take anywhere from a few minutes to an hour. The Apple Watch will display a progress circle, and once it’s full, the device will automatically restart.
Step 9: Verify the Update
The final step in updating Apple Watch Series 2 is verification. Once the update process is complete, and your Apple Watch has restarted, you’ll want to make sure the update was successful. Open the Apple Watch app on your iPhone, navigate to General, and then tap on About. Here you’ll see the updated software version listed, confirming that the update was successful.
Troubleshooting Common Issues: How to Update Apple Watch Series 2
Even when you follow all the steps correctly, you may encounter some challenges while updating your Apple Watch Series 2. Here are some common issues and their solutions:
Issue 1: Update Doesn’t Appear in the Apple Watch App
This could be due to a few different factors, such as server issues or the update not being available for your specific model yet. Try restarting both your iPhone and your Apple Watch and check again after a few minutes.
Issue 2: Update Fails to Install
If the update process starts but then stops, your Apple Watch will usually provide an error message. Take note of the error and consult Apple’s official support documentation for solutions specific to that error.
Issue 3: Update Takes Too Long
If the update seems to be taking an unusually long time, make sure your Wi-Fi connection is stable. If you’ve confirmed your Internet is fast and reliable, you might consider starting the update process again from the beginning.
Conclusion: How to Update Apple Watch Series 2
Congratulations! You’ve successfully learned how to update Apple Watch Series 2. Regularly updating your device is essential for receiving the latest features, security patches, and performance improvements. We hope this step-by-step guide has made the process straightforward for you.
