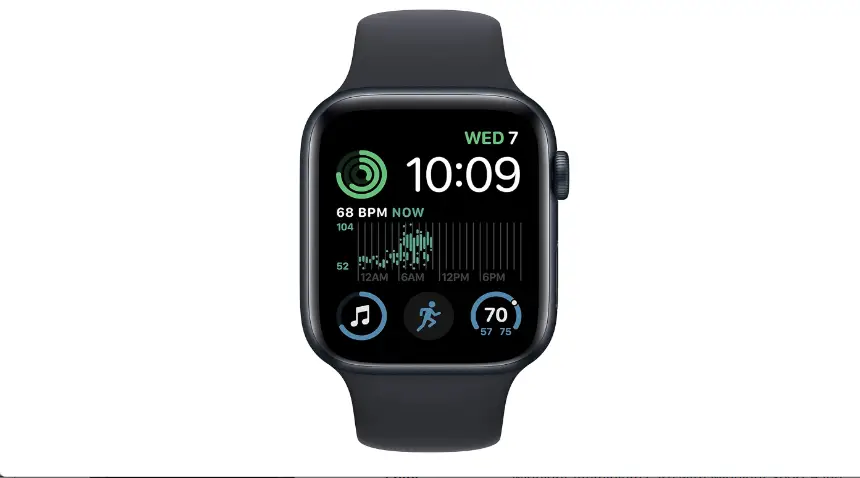
In the rapidly evolving world of technology, learning how to activate Apple Watch eSIM is a vital skill that can unlock a host of benefits. This guide provides a step-by-step walkthrough to aid both tech enthusiasts and novices in seamlessly activating their eSIM. Rest assured, we have you covered in tackling this simple yet important process.

Table of Contents
Step-by-Step Guide
Step 1: Ensure Your iPhone is Compatible
Before you begin the process of learning how to activate Apple Watch eSIM, it’s essential to ensure that your iPhone is compatible. Your iPhone should be operating on iOS 14.0.1 or later versions.
To check this, navigate to “Settings,” tap on “General,” and then “About.” Here you can find the version of the iOS currently installed on your device. If you need to update your iOS, go to “Settings,” “General,” and then “Software Update.”
Click here for more articles like this one – How To Fix Apple Watch Issues: A Comprehensive Guide
Step 2: Update Your Apple Watch
The next critical step in understanding how to activate Apple Watch eSIM is to ensure your Apple Watch is running on watchOS 7 or later. To check your watchOS version, on your Apple Watch, go to “Settings,” then “General,” followed by “About.” If necessary, update your watchOS to the latest version following Apple’s detailed guide.
Step 3: Set Up Mobile Data on Your iPhone
With the prerequisites met, you’re set to start setting up mobile data on your iPhone. Begin by tapping on “Settings” on your iPhone, followed by “Mobile Data” and then “Add Data Plan.”
You will find a list of available data plans from different carriers. Choose a plan that suits your needs and follow the on-screen instructions to add it. This will involve scanning a QR code or entering details manually.
Step 4: Pair Your Apple Watch with Your iPhone
Now, it’s time to pair your Apple Watch with your iPhone, an essential step in learning how to activate Apple Watch eSIM. Open the Apple Watch app on your iPhone, and you will find an option to pair a new watch.
Follow the on-screen instructions which involve holding your Apple Watch up to your iPhone’s camera and aligning it with the viewfinder. It may also involve setting up a passcode for security.
Step 5: Activate eSIM on Your Apple Watch
You’re nearly at the finish line in the process of understanding how to activate Apple Watch eSIM! This vital step ensures your Apple Watch can operate with all the functionalities provided through the eSIM technology.
Start by opening the Apple Watch application on your iPhone. Find and tap on “Mobile Data,” which should present you with the option to “Set Up Mobile Data.” Here, the app will guide you with on-screen instructions tailored to your specific carrier. It’s a straightforward process where you would essentially be adding your watch to your mobile phone’s existing data plan.
In most instances, this setup process would be automatic and quite seamless. However, be prepared to possibly need to contact your carrier to facilitate adding your Apple Watch to your mobile plan. This could be a simple call or chat with your carrier’s customer service to enable the service and ensure that your plan supports additional eSIM devices.
It is important to note that some carriers might charge an additional fee to add your Apple Watch to your mobile plan. Be sure to confirm any potential charges to avoid unexpected bills.
Once the setup is complete, your Apple Watch should now be able to use mobile data independently of your iPhone, offering a range of new opportunities for connectivity on the go. To test if the eSIM is working, you can try disconnecting your iPhone and attempting to use a data-dependent app on your Apple Watch.
How to Activate Apple Watch eSIM: Conclusion
Congratulations! You have now mastered how to activate Apple Watch eSIM. This systematic guide has equipped you with the knowledge to successfully undertake this task on your own, fostering a seamless connection and enhancing your Apple Watch experience. Remember, each step is designed to lead you to success, so take it one step at a time and you’ll be set up in no time.
