If you’ve just purchased an Apple Watch SE and you want to know how to put band on Apple Watch SE, you’ve come to the right place. This step-by-step guide will walk you through the process.
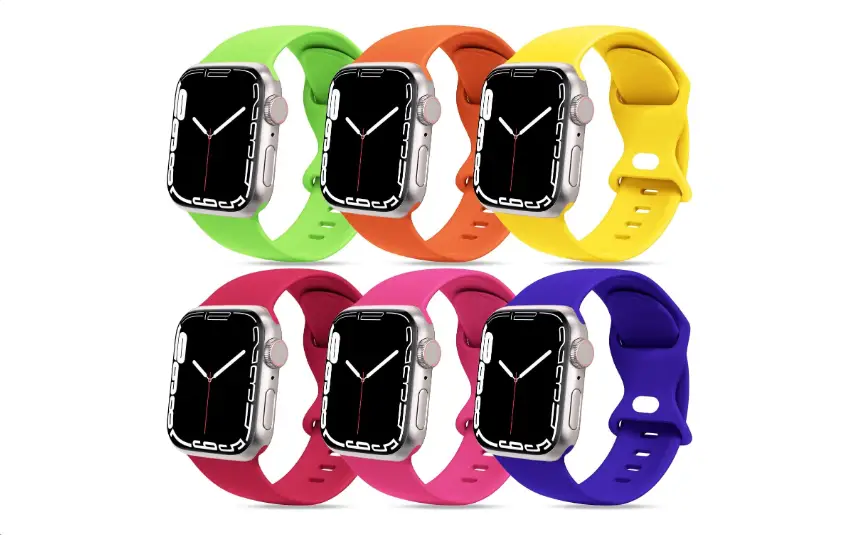
Table of Contents
Tools Needed
No specialized tools are required for this operation. All you’ll need is:
- Apple Watch SE
- Compatible band
Click here for more articles like this click here – How To Fix Apple Watch Issues: A Comprehensive Guide
Safety Precautions
While this process is generally safe, taking precautions is advised. Make sure you’re working on a flat surface to avoid dropping your watch. Apple Support advises against using third-party bands not certified by Apple.
Step-by-Step Instructions
- Turn off your Apple Watch SE.
- Place the watch face-down on a flat surface.
- Press and hold the band release button located at the back of the watch.
- Slide in the new band until you hear a clicking sound.
- Release the band release button and gently tug the band to ensure it’s securely attached.
Troubleshooting
If you encounter issues, ensure that you’re using a band compatible with Apple Watch SE. Consult the Apple official website for a list of compatible bands.
How to Put Band on Apple Watch SE: Conclusion
Knowing how to put band on Apple Watch SE is crucial for enjoying your new device. Follow these steps, and you should have your new band attached in no time.
